Moving to a cool new theme.
The Beginning #
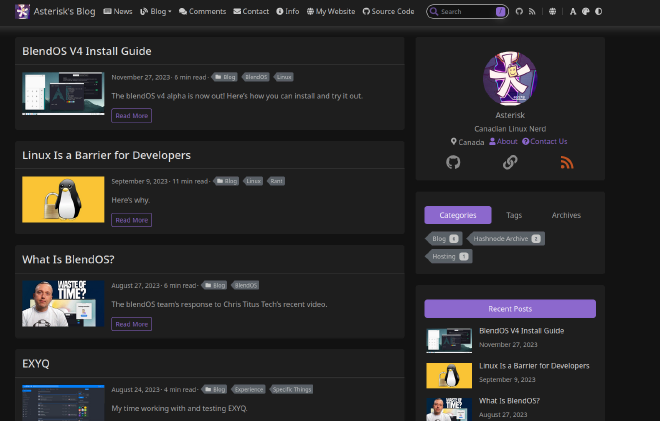
I used to use the HBS theme, which had a lot of features and utilities.

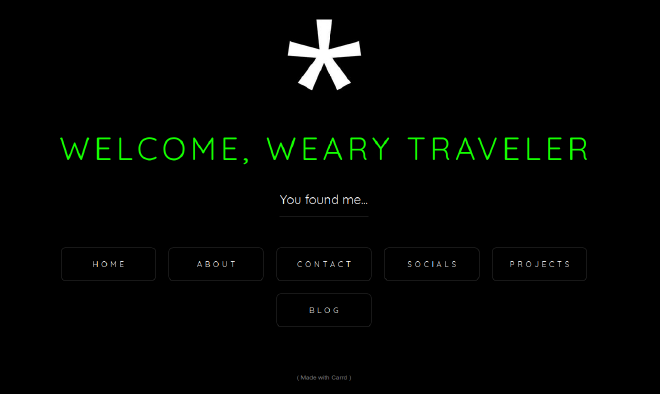
It had everything I needed, and I was happy with it. I also had a horrible carrd site that haunts me to this day.

I wrote posts here, and the arrangement worked, but eventually I went looking for a theme to replace my main site.
I looked in a lot of places. Ghost, Astro, Nuxt, even WordPress.
Eventually I thought about Jekyll, but I couldn’t find any good themes. However, it did introduce me to jamstackthemes, where I kept digging through Jekyll and Astro themes.
Eventually I decided to go back to browsing Hugo themes, and after a lot of digging and testing, I ended up finding Blowfish.
It seemed really powerful and robust, and had a configuration tool available, and the examples blew me away.
Initial Struggles #
Initially, the theme did not work correctly, displaying a 404 every time.

I actually made a
GitHub issue for this, but found a quick fix on my own; I forgot to uncomment theme = "blowfish" in config.toml 🤦.
Once I got it working, I had to start configuring it, something I spent days on.
Building the site #
Basics #
First setting it up involves running npx blowfish-tools (just runs it) or
npm i -g blowfish-tools (installs it)
I started with the basics like a title, icon, socials, etc, which the tool did well.
Theme #
Eventually I set a background image and chose a colour scheme. I looked through the available ones, and chose Congo1 as a holdover until I could make my own, because it looked very similar to my old blog.
However, I just ended up sticking with it.
Setting up the menus and icons was a real breeze, and adding more was easy (more on that soon™️).
Deployment #
Deployment was fairly easy, no special Hugo flags required. The only caveat was I had to disable Cloudflare’s Rocket Loader™️ to fix the appearance switcher.
Icons #
This theme comes with a very small subset of icons from FontAwesome 6 Free. However, there is an easy procedure for adding more.
All I had to go was go to FontAwesome’s
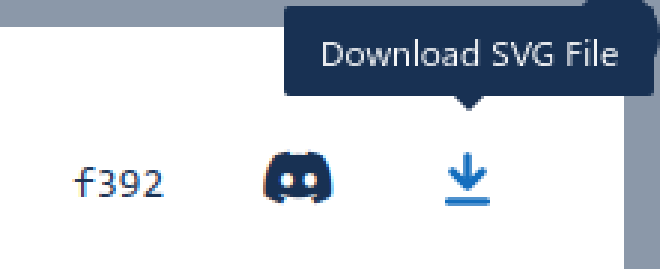
icon page, search for an icon, and download it into assets/icons. I will be using the Discord icon from fa-brands as an example.


From there it does get a bit more complicated, as you now have to edit the SVG file.
Using our Discord SVG as an example (normally this would be minified onto a single line), we need to add the attribute fill="currentColor" to our path item, turning this:
|
|
into this:
|
|
That’s really easy! And now it follows our current color scheme and will work like any other icon! I already use this feature in lots of places in this website.
Technically you can pull from any icon set you want, I just prefer to use FontAwesome 6 as it fits the rest of the site, however Simple Icons also works well if you need more brand icons.
You can find more icon sets at Icones.
Comments #
Adding comments is quite easy. For this example, I will be using giscus, a comment system powered by github discussions used on this site.
After setting everything up and obtaining your script snippet, just paste it into a new file called comments.html in layouts/partials. Then, edit params.toml and set article.showComments to true.
My opinion #
Compared to my old blog theme, this is missing certain shortcodes or features but it has everything I need and looks a million times better. It’s also a framework to build basic pages for an actual site, not just for a blog.
I’ve been able to use this to make a decent site that’s more than a blog or a LIB site, while being simple to edit and maintain and looking good. I can edit content in local markdown editors (Markdown CMSes like Decap I find weird and unnecessary), license it myself and have full control over my content, all while keeping a modern appearance.
It also gets people to ask if I made this myself because nobody checks the footer. This theme was made by Nuno Coração, by the way.

It’s a hell of a lot more professional, and it works.
-
Congo Scheme Colours:
↩︎
